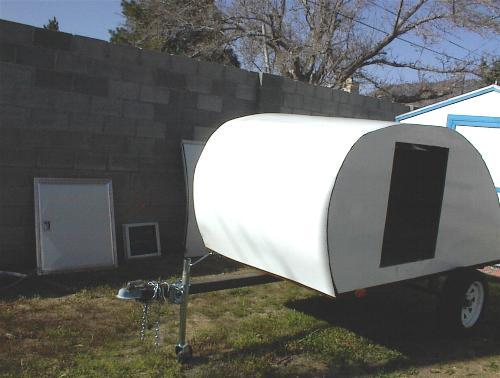
| Here is the tear with the door, window, hatch, and all the trim removed.
No damage so far as none of these items were attached with any caulking or adhesive
of any kind. |
 |
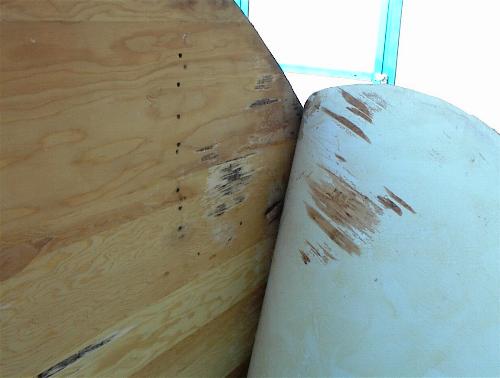
| I thought the filon would come right off with no problem and I was wrong.
While the filon on the curbside tore off on the trip home, the street side covering
was a real bear to remove. I'm not sure if the builder used different adhesive or
just more but removing this filon tore off parts of the outer ply of the plywood. |
 |
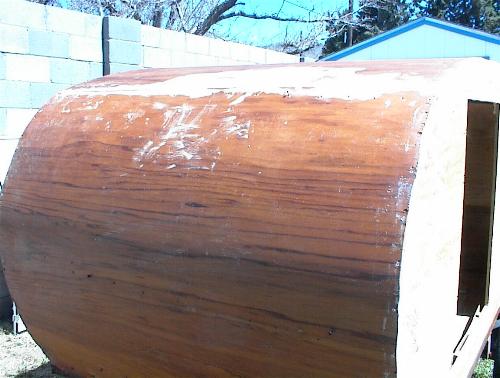
| I was able to pull the filon from the roof in one piece undamaged. I may
re-use it when I rebuild. The roof sheathing is 1/4 inch plywood that seems to have
bent pretty easily. The edge where two pieces came together wasn't clean, particularly
since the builder used 1x3 pine boards for the spars. He used auto body filler (Bondo)
to achieve a less than ideal transition.
|
 |
| I removed all the screws that I could, which was hindered
by the builder having used ones that were too long and bending them over with a hammer.
I first tried to remove the sheathing from the spars but it turned out to be
easier to remove the roof spars with the sheathing--the spars were glued to the
roof sheathing but not to the walls. The insulation and the paneling were simply
nailed in with brads and came off very easily. |
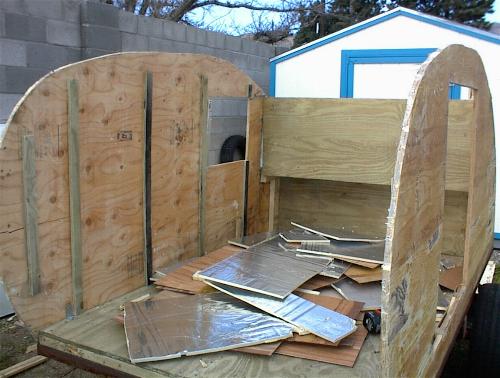 |
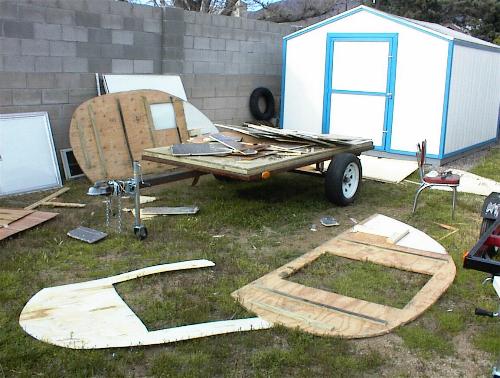
| The walls and the bulkhead were attached only with (rusty) drywall screws,
no adhesive/glue whatsoever. The trailer came apart very easily. You can see that
the filon on the door side didn't make it off in one piece. |
 |
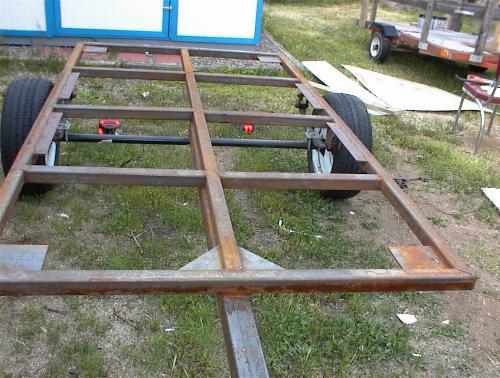
| The floor was 3/4 inch pressure treated plywood screwed to 2x4 pressure treated
framing. The floor frame was bolted to the chassis via holes in the corner gussets
and angles that the builder welded to the inside of the chassis. Not the way I would have
done it. The side marker lights were attached with, you guessed it, interior
drywall screws. Also not the way I would have done it. As you can see, the chassis
is completely rusted as expected. Let the rebuild begin! |
 |