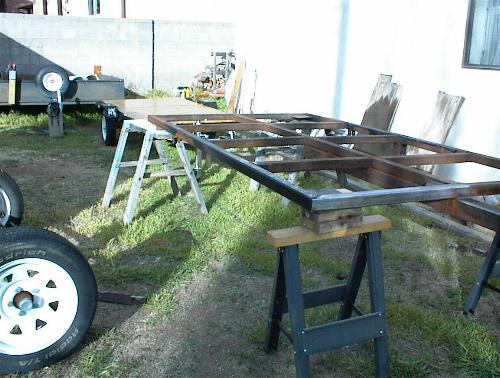
| Here is the chassis after I dissassembled the tear from it. (4/14/2005) |
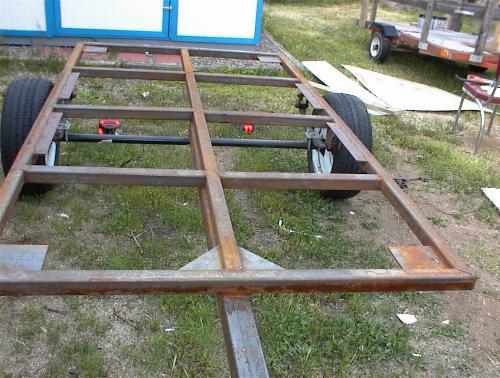 |
| It's merely surface rust so comes off pretty easily. If only there wasn't so much chassis! |
 |
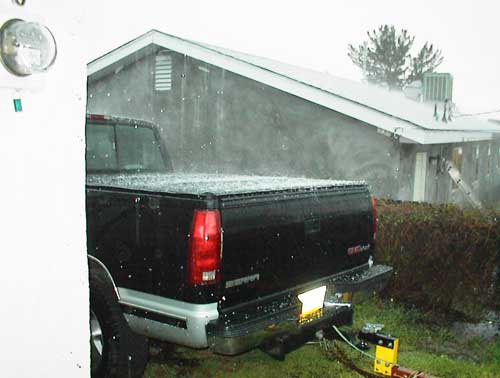
| It's hard to sand a chassis when it's hailing! This was on 4/16/2005 |
 |
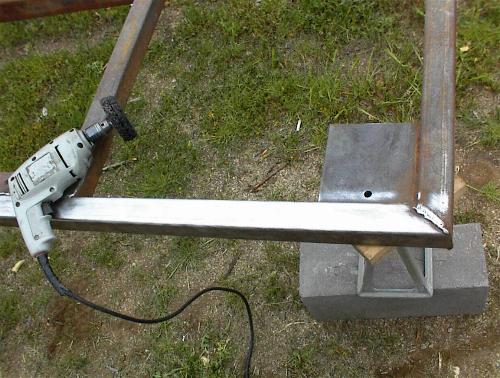
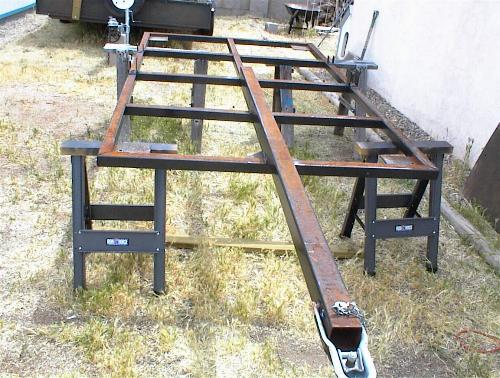
| Speaking of rust, the floor frame was held on via bolts through the corner gussets and
through these angles the prior owner welded to the chassis. To me it just looked like a good
place for rust to form so I cut them off. I will attach the frame directly to the chassis. (4/28/2005) |
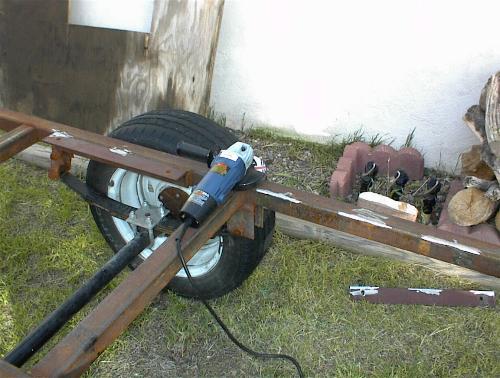 |
| I removed the axle and springs so I could get to the chassis that was behind the wheels. |
 |
| The hubs, springs, hangers, and parts of the axle itself are rusted and need refinished. |
 |
| Making some real progress. I sanded/ground/brushed small sections at a time, applied rust converter,
then painted. Not the ideal way to do this but it works since the job is taking so long. (5/3/2005) |
 |
| The same method was used on the hubs, springs, and axle. |
 |
| The top and sides of the chassis are finally done. I finished this much in just over six weeks
working on and off. |
 |
| Flipping the chassis over shows that I still have a long way to go. |
 |
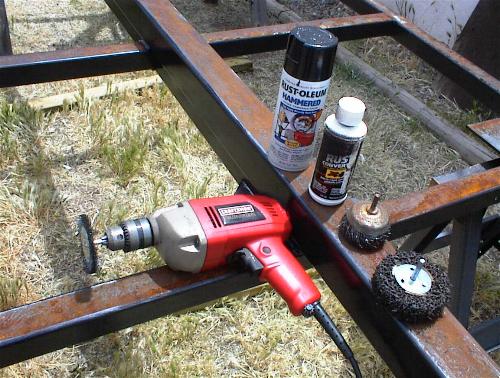
| Tools of the trade: power drill with various wire brush and stripper wheels, rust converter liquid,
and Rustoleum "Hammered" finish black spray paint. (6/2/2005) |
 |
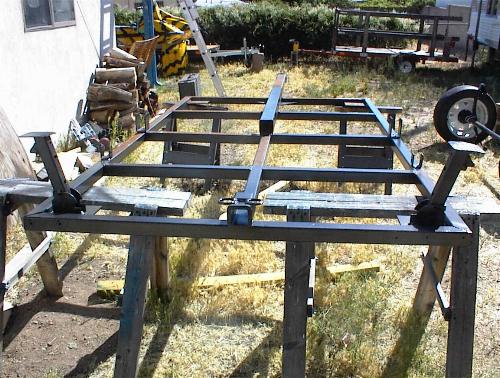
| I've bolted the stabilizer jacks on and welded a receiver hitch and safety chain rings
on to the chassis. I'm brand new to welding and must say it's quite a bit harder than I had imagined.
I don't plan on double towing with the tear, the receiver will be used to hold a bike rack at most and
my ugly welds should hold. (6/8/2005) |
 |
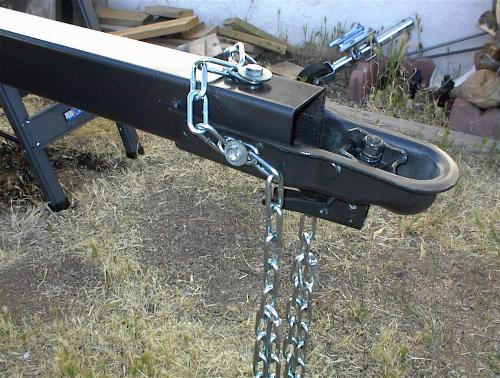
| I've replaced the wimpy chains the former owner had installed with ones that
will actually hold the tear if it breaks loose. The coupler is a bolt-on model that
he welded on at the back and through the bolt holes. I added an additional bolt through
the front to hold the chains and as a backup for the welds. |
 |
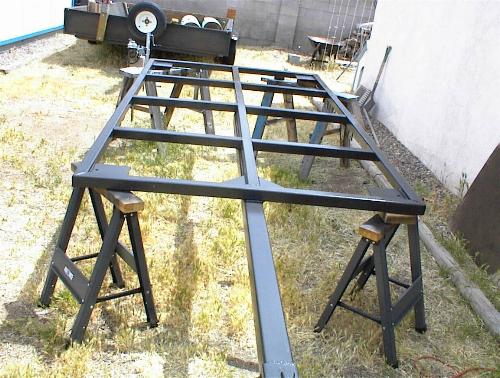
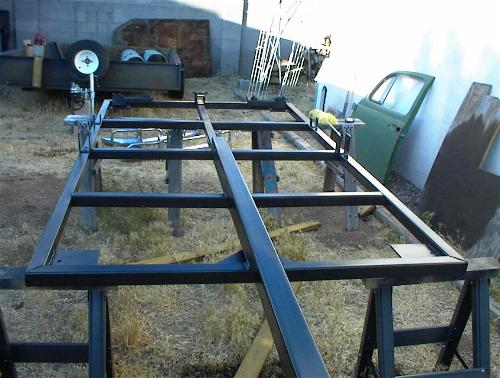
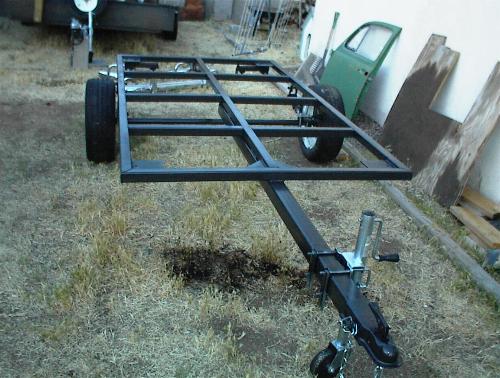
| The chassis is de-rusted and painted. Another coat of paint all over and it'll be
ready for the wheels and tongue jack again. (6/10/2005) |
 |
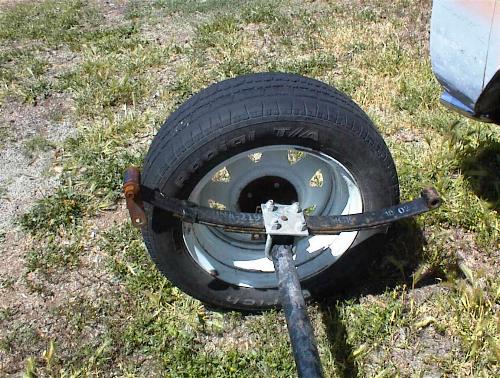
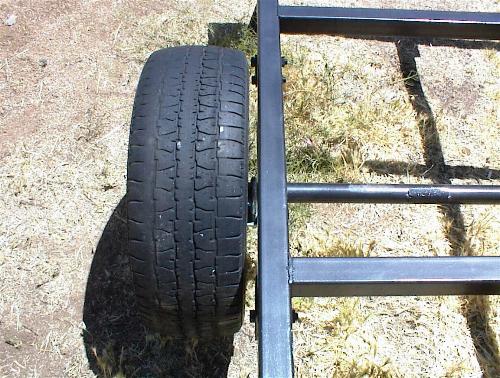
| Finally done! I started the sanding on 4/14/05 and finished on 6/10/05. It was
a much bigger job than I anticipated. I'm still torn on whether or not to flip the axle.
As you can see, there is very little clearance between the tires and the chassis. Think I'll try it anyway. |
 |
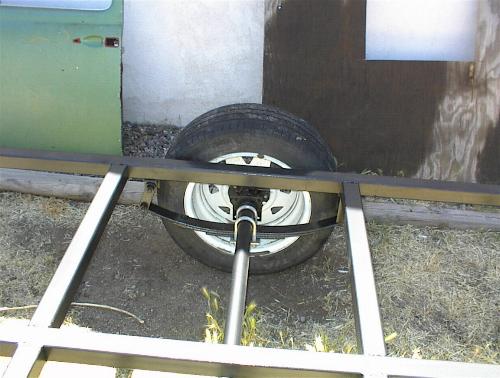
| The axle is now flipped to sit on top of the springs. Everything is tightened up. |
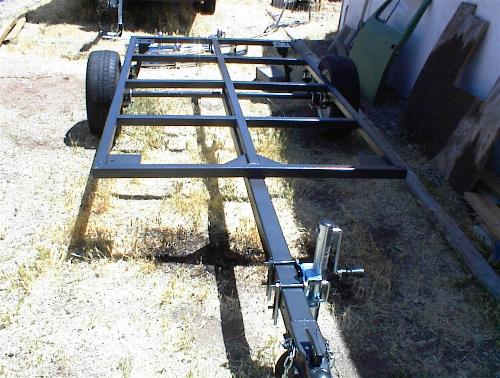 |
| You can see that there is only about an inch of clearance between the tires and the chassis. It's going
to take a pretty big bump to move the tire into the side of the tear. Guess I better drive carefully. |
 |
| But boy does it make a difference. The chassis dropped by about 5 inches. On to the floor! Way cool. (6/11/2005) |
 |